
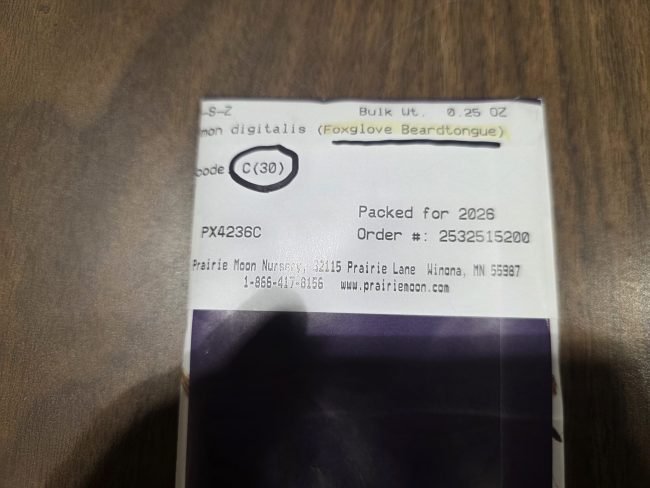
Winter sowing is a way to provide a cold, moist period for native plant seeds that require it for germination, something akin to what they’d experience outside in winter. This is called stratification. Some native plant seeds don’t require a cold moist period at all and will germinate in a warm moist situation inside the house or outside in the garden. Or, they may only need a cold dry period instead of a cold moist period, which means you can keep them in the refrigerator in a foil-lined seed pack or a sealed container like an old film canister, a re-sealing plastic bag or other airtight container for the time period specified on the seed packet (usually 30 or 60 days). Once the seeds germinate, they can be planted directly outside or planted into in pots depending on the weather. The seed packet should say how long the minimum period of stratification is for the particular species.
Some seeds have very complicated needs such as requiring a cold moist period followed by a warm moist period and then a second cold period (these seeds usually take two years to germinate). These are best started outside in fall and kept moist during the growing seasons. These can be more difficult to grow and are not recommended for beginners.
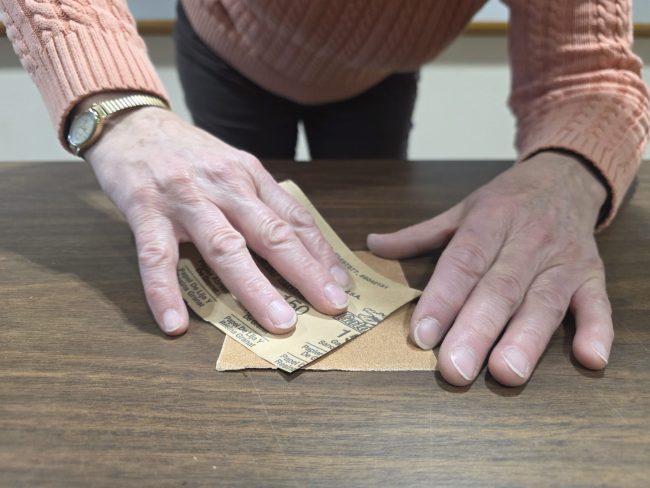
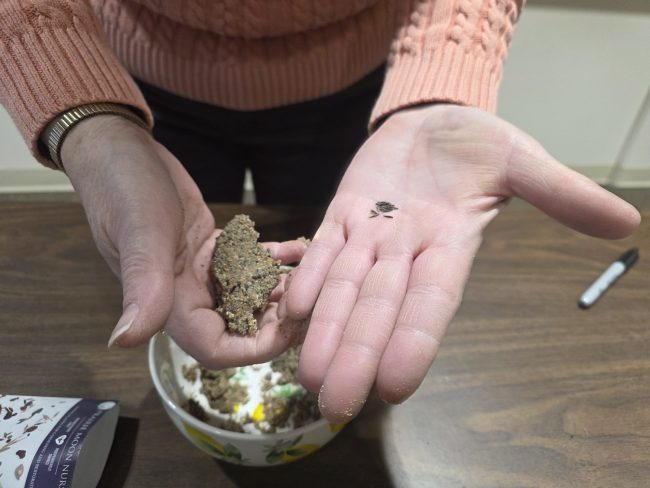
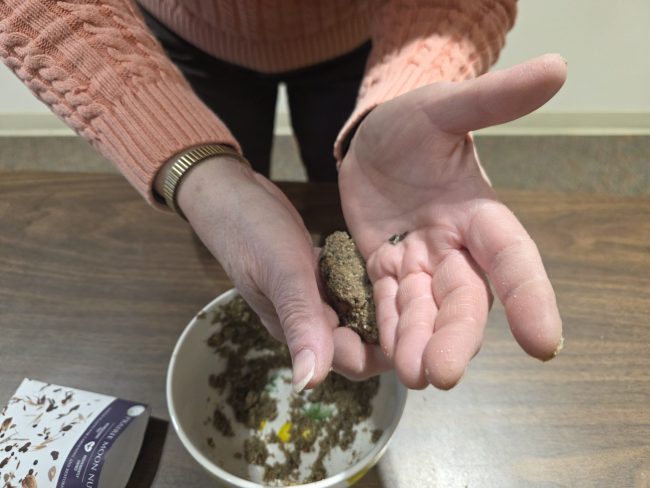
Yet other seeds have a really thick seed coat (leadplant and baptisia are examples). These seeds usually germinate better if the seed coat is lightly ‘etched’ before the cool moist period to better allow the seed to imbibe water. These species have likely evolved to pass through the gut of an animal, where the stomach acid can partly break down the seed coat. We can simulate that process by rubbing the seed gently on fine grade sandpaper. You don’t want to rub too hard, or you can damage the embryo, but a little scoring is highly beneficial. Sometimes a hot water treatment may be beneficial in accomplishing the same thing but you have to be careful not to expose the seed to the boiling water for too long.

There are three basic winter sown techniques used to simulate the cold, moist period for seeds requiring it. You need to know first whether the seed requires light to germinate. This information is usually available online from native plant nurseries that sell seeds, or it may be on the seed packet. Seeds that need light to germinate often are exceedingly tiny (don’t sneeze while handling or they will fly away!).
If light is not needed, two common methods are used for germination. The first is to use moist fine sand to encase the seed. The ‘seed ball’ is then put in a labeled re-sealable plastic bag in the refrigerator. Label the bag with the species name, date and minimum number of days needed for stratification. Check every week or so to make sure that the sand is still moist, and seeds are not germinating. If they start to germinate, carefully transplant them into individual pots to grow inside (ideally in a cool very bright room) until they can go outside, or plant them directly outside if the temperatures are warm enough. Usually, it is fine for seeds to get a longer cold period than the minimum they need to germinate (ex. a species only needing 30 days gets 60 days) but they may start to germinate after the minimum period passes.
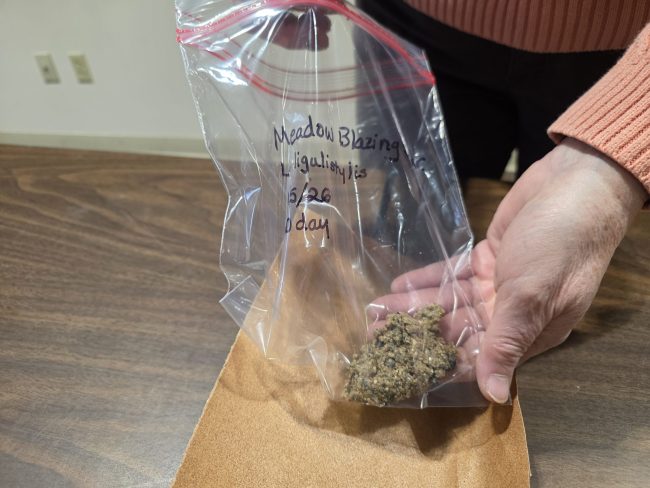
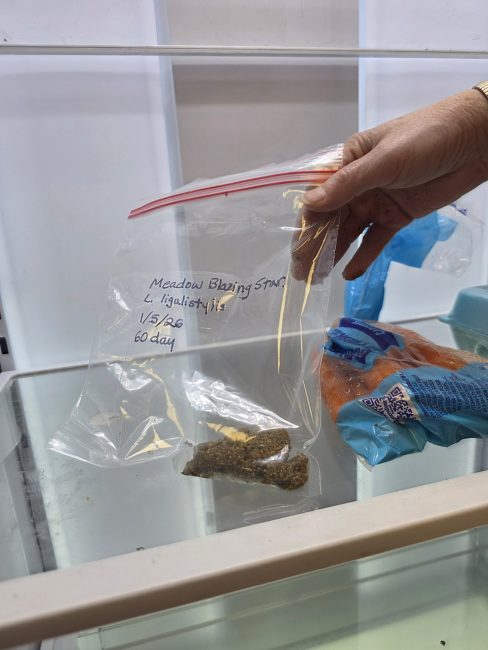
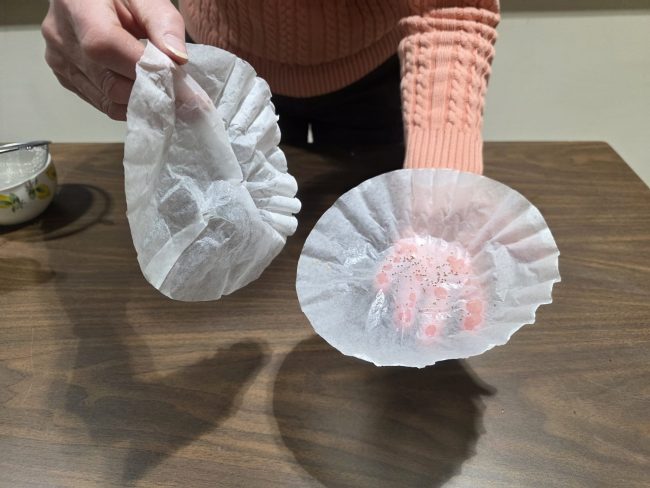
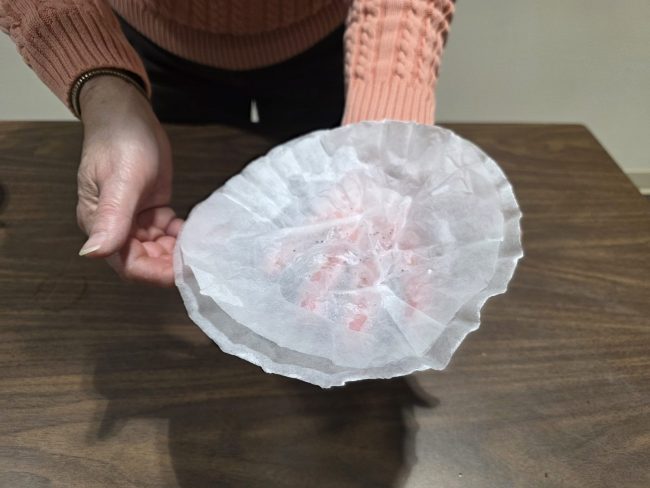
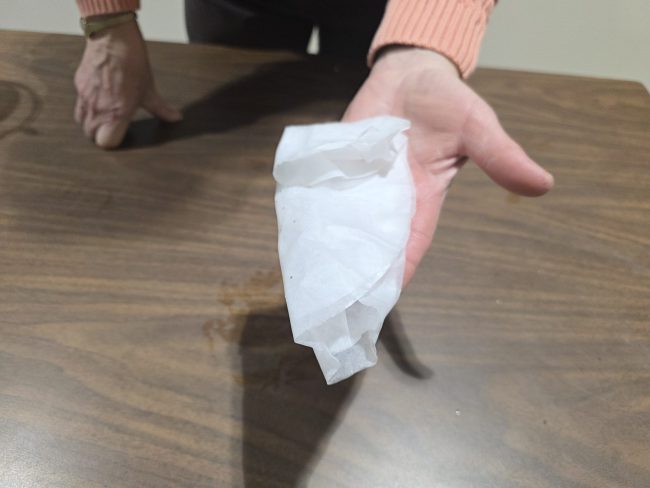
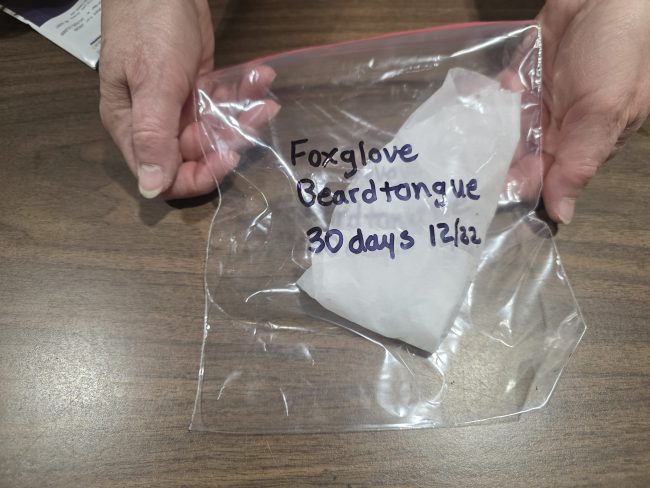
The other method is to make a moist ‘coffee filter sandwich’ with the seeds between two layers of moistened coffee filters, gently folded and then placed in a labeled re-sealable plastic bag in the refrigerator. The bag label should have the same information used with the moist sand technique. Make sure the seeds have good contact with the filter paper. Check every week or so to make sure that the filter paper is still moist, and seeds are not germinating. If they start to germinate, carefully transplant them into individual pots to grow indoors (ideally in a cool very bright room) until they can go outside or plant them directly outside if the temperatures are warm enough.

If the seeds do need light to germinate, then the thing to do is plant them in potting soil in labeled plastic gallon jugs. Empty distilled water, juice jugs or vinegar jugs work fine, and even empty milk jugs can work as well if washed out well with soapy water. Note that you can also use the jug techniques for seeds not requiring light if refrigerator real estate is scarce.
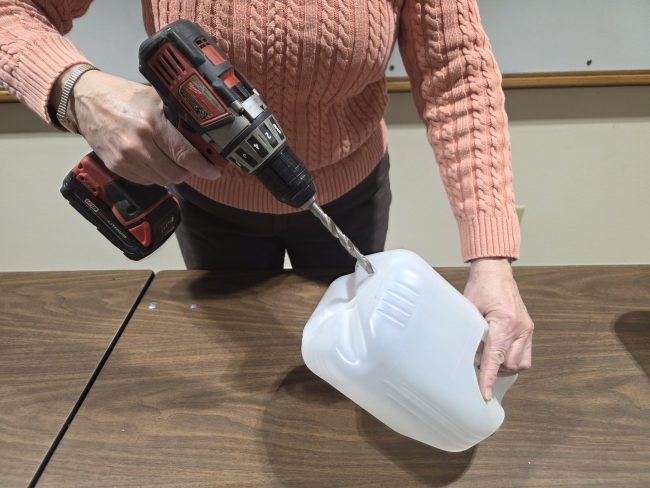
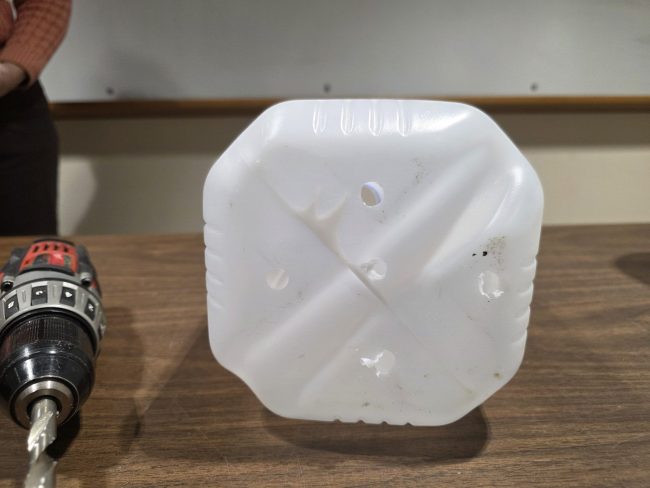
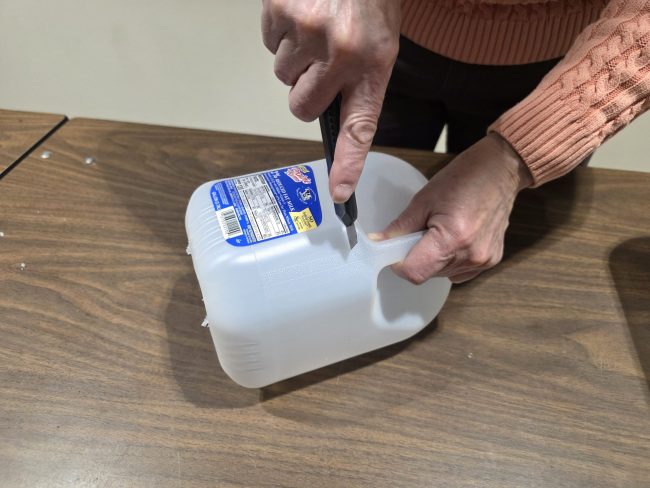
Start by drilling 6-7 holes with an approximate diameter of 1/4″ in the bottom of the jug for drainage. Caps of the jugs should be discarded, they are not needed. Cut the jug horizontally, using the handle area as a hinge.
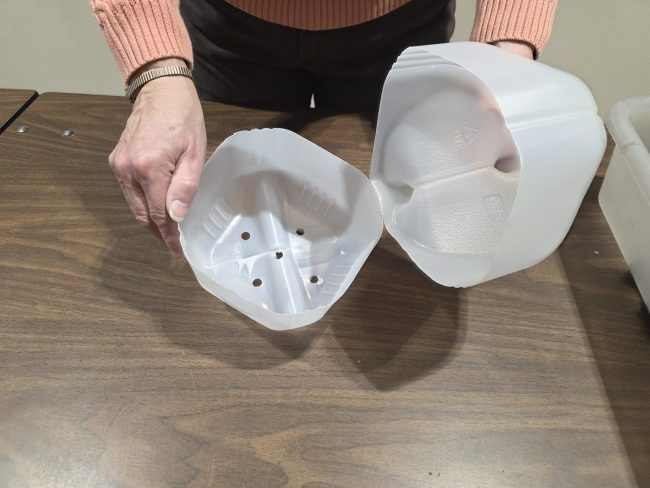
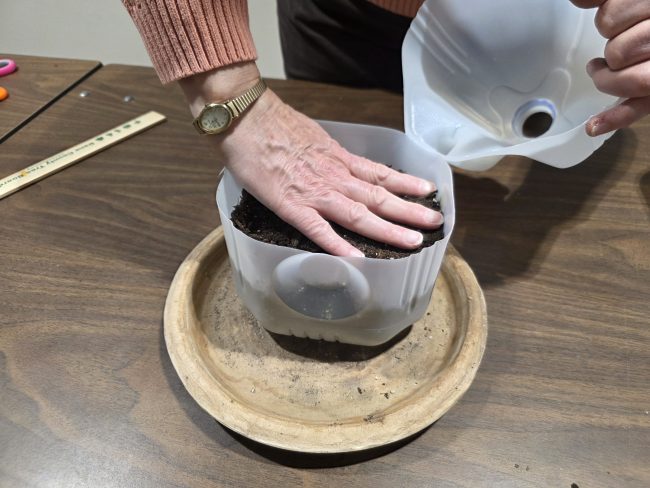
Set the jug on a plate or saucer. Put about 4 inches of pre-moistened potting soil mix and seeds in the bottom of the jug. Lightly tamp down and smooth the soil. Then water gently until water comes out the bottom and let drain. Discard any water in the saucer.

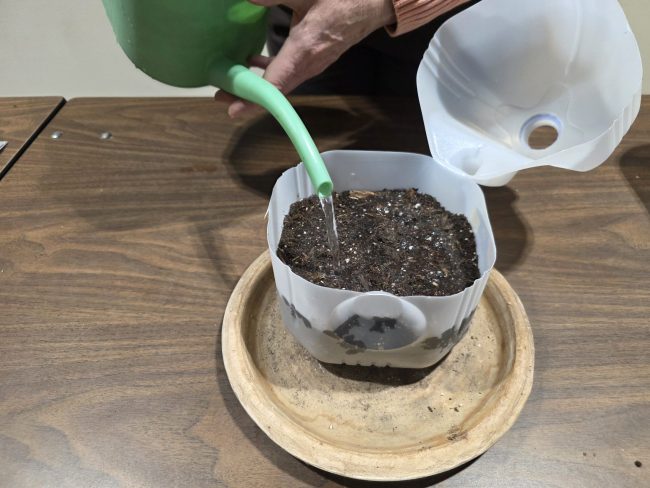
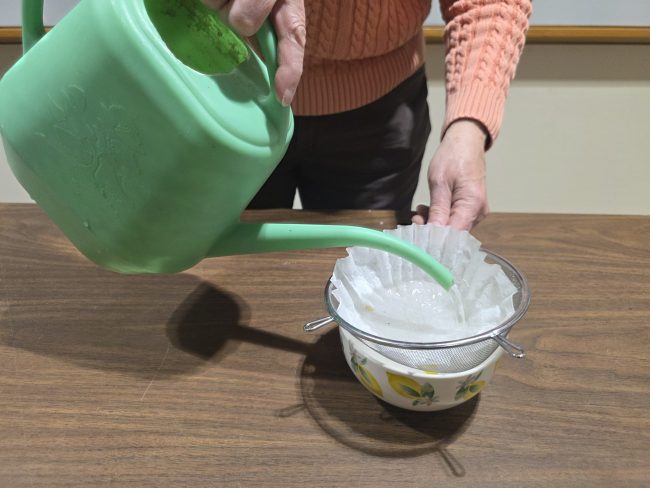
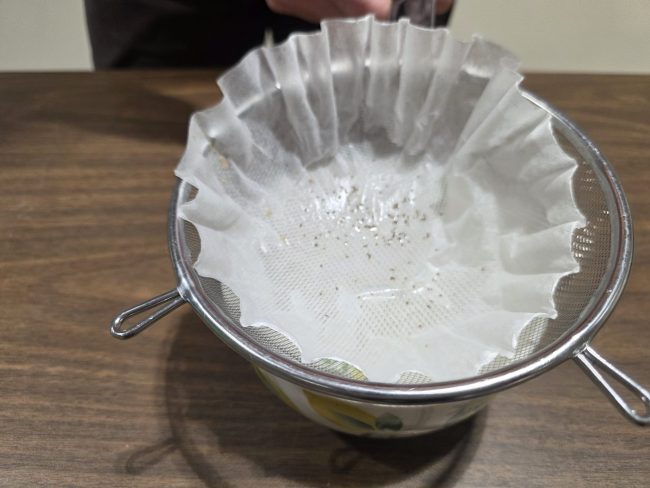
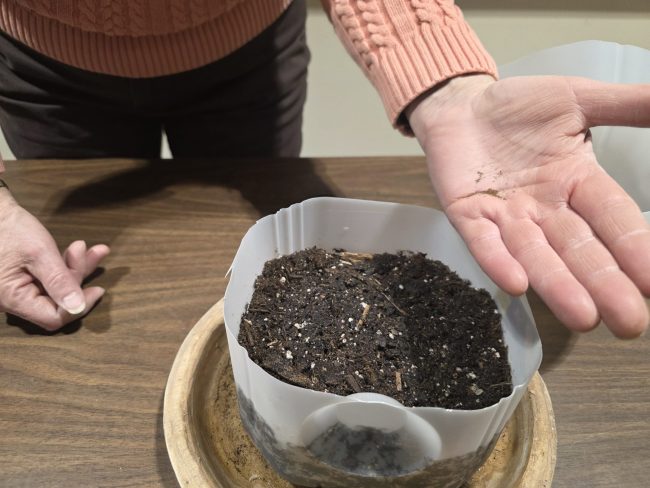
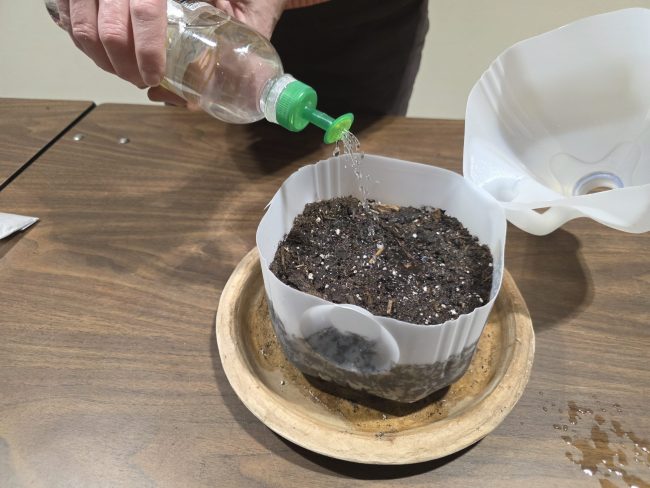
Plant the seeds. Try to space them out so they are not all clumped together. This will make it easier to separate seedlings later. Many seeds will be very small and those needing light to germinate should just be pressed gently into the soil surface and not buried. Consult the seed packet for planting directions. Gently water in the seeds to settle them. For small seeds, using a watering head that sprinkles instead of one producing a stream of water that could bury the seeds too deeply in the soil profile is preferable.
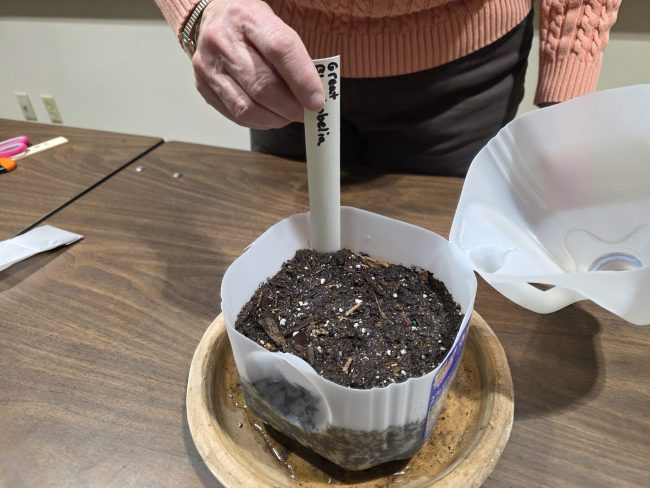
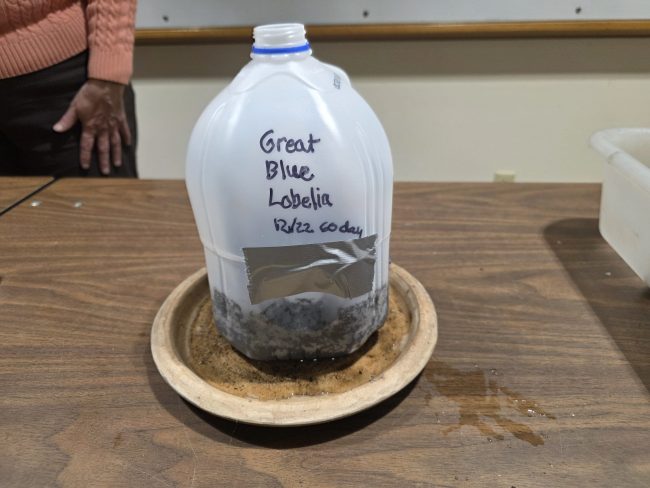
After planting and gently watering in the seeds, put a label stick inside the jug with the species name, date and minimum number of days recommended for stratification. Use duct tape to seal the two halves of the jug together. Label the outside of the jug with the same information as the stick inside so you can easily see what is in the jug. The inside-the-jug label stick is inserted in case the marker on the outside of the jug wears off over winter. You have now created a mini-greenhouse for your seedlings!
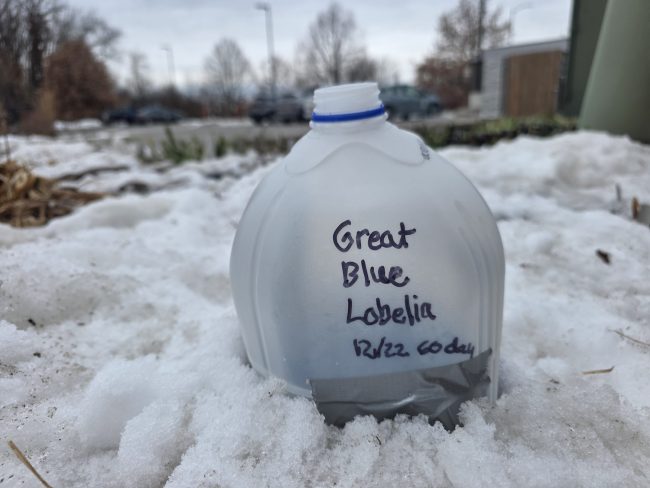
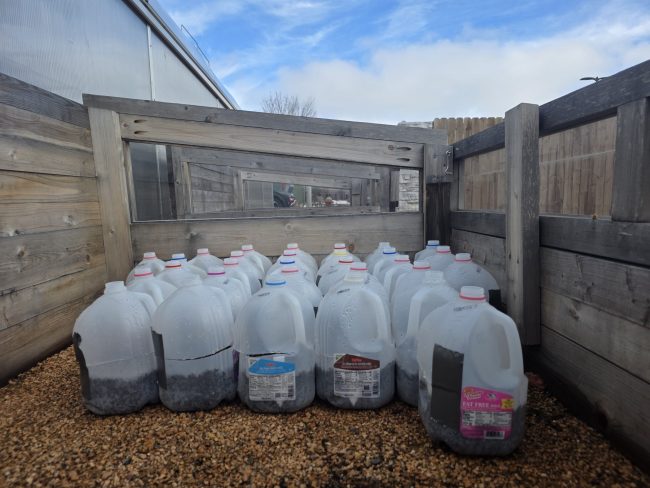
Once the seeds are planted and the jugs taped shut, the jugs are ready to go outside. If you have a cold frame, window well that is not under the eaves of your house, a chicken wire pen or other structure outside to corral the jugs in so they don’t blow away if the snow melts, that is ideal. Ideally, the jugs would be surrounded by snow to insulate them, but we all know snow levels tend to fluctuate over winter, especially these days!
Once you see the seeds sprouting in spring, you can remove the tape and bend the jug top back on its handle-hinge to give the seedlings more light and air circulation. You may need to put a rock or other weight in the top portion of the jug, so it doesn’t snap back into a closed position. You can close the jug back up at night if it will be cold. When seedlings have one to two sets of true leaves (do not count the cotyledon leaves), they can be carefully transplanted into individual pots until large enough to plant in the ground once the weather is warmer.
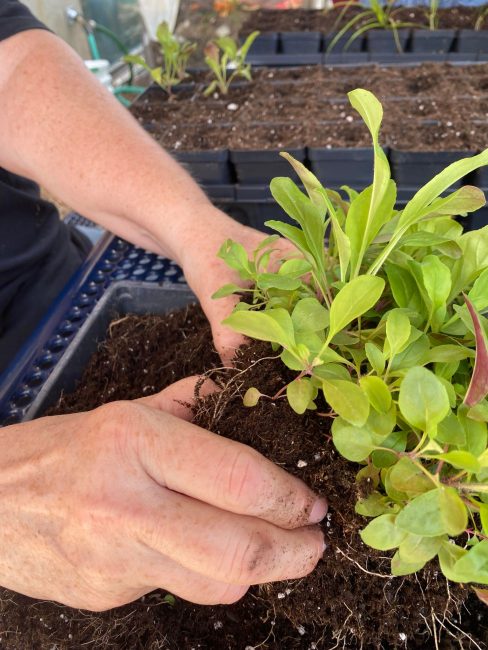
Remove the clump of seedlings from the jug and carefully separate the plants, trying not to rip roots. If roots are really tangled, you can try separating them in a bowl or bucket of water. Or, you can leave 2-4 plants together in clumps. Transplant into small pots or flats of potting soil mix and gently firm the soil around the stem. Water the seedlings in and make sure they stay moist (but are not standing in water).
If it is too cold to put the seedlings out, keep them inside in a cool but very bright space, ideally in direct sun so they do not get too leggy prior to planting outside. Not starting the seeds too early can help with this. Acclimate the seedlings to sunlight. They should be put outside in the pots or flats in partial shade first and over the course of a week to 10 days be moved into more sun (if they are full sun plants).
Native plants are badly needed in our landscapes. They support insect pollinators, some of which are pollen specialists and can only use the pollen of a small number of native plants that they have evolved to feed on. Without these plants, those insects cannot reproduce. Plant selection matters! Choose plants that support the most pollinators (keystone plants) and also will thrive in your particular environmental conditions. To find out which species are keystone species in your area, visit the National Wildlife Federation Plant finder Home – Native Plants Finder . When ordering native plant seed, search for suppliers close to your home (or at least from Wisconsin or Minnesota or Michigan if you are living in Wisconsin). This will help ensure that the plants will be hardy and of a genotype that matches our area.